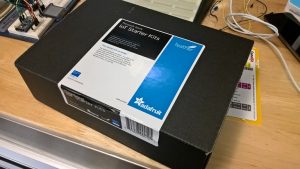
 I received one of these fun kits this year at Build 2016. Here is the link, in case anyone is curious or wants to buy one. It contains Adafruit’s custom ARM M0 SAMD board (similar to the Arduino Zero, but much smaller), and a bunch of components to mess around with on it. Anyway, I figured that since the Azure guys (essentially) gave me the kit, I should use it to run through their tutorial.
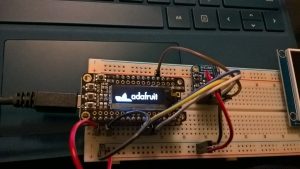 After getting the graphics test running with the OLED Featherwing board, I ran through their Azure IoT Hub tutorial. (Also pictured here is the temperature, pressure, and humidity sensor.) NB: Make sure to follow the steps explicitly—the tutorial requires at least one forked version of a library that’s already available on the normal Arduino library manager. Plus check to see if you have at least Arduino 1.6.8, which was just released in March. I had an older one, because I was unaware of this fact.
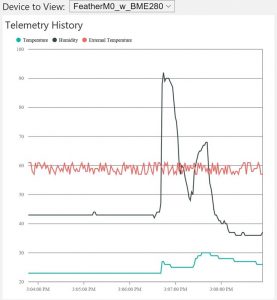 Huzzah, data! The spike pictured here is me breathing on the humidity sensor. Later, I discovered that the standard Azure setup they had me use for this tutorial would have run me out of credits in about three more days; so I removed it! Alas. Maybe there will be less pricey tiers later on. It was fun to try out though.
