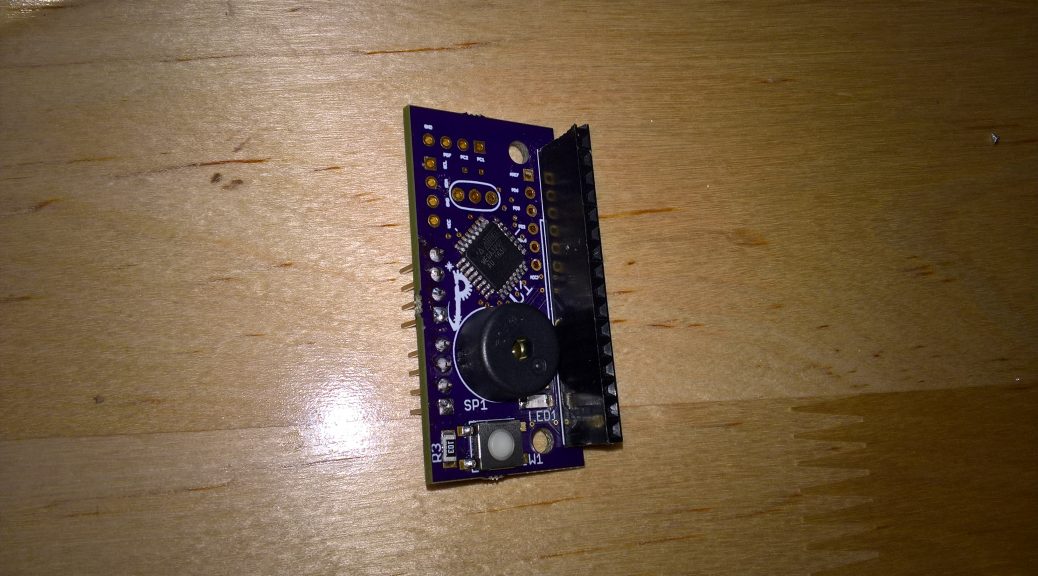
After much iteration on the firmware for the keyboard, I decided on finally assembling the device, in spite of not being completely finished. It will continue to be a work-in-progress, but I need to move on to other projects for now. Once I finish some other projects, I’ll come back to this one.
Emboldened by my past success with the Roomba revision D boards, I decided to incorporate this new knowledge of reflow into the next revision for the keyboard toy. A few things needed to change with this design. First, I never did find a good way to incorporate the port expander into the final design; so out it went. Second, the wire harness proved much too cumbersome–I would use a simple female header instead for the TFT. Third, to save space, I would use the TQFP-32 package for the ATMega328p. Continue reading Reflow soldering: further experiments and observations→
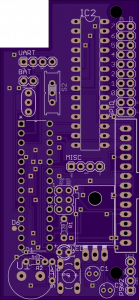
I finally wrapped up layout on the first hardware revision for the AVR keyboard toy project and ordered a small batch of them from OSH Park.
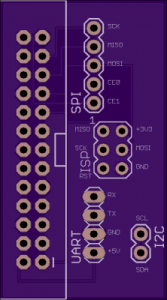
Along the way, I decided to quickly finish up my Raspberry Pi ISP tool so that I can use that to program the microcontrollers on these boards when they are ready, because currently, it is not so convenient to do that. The curious can also find this board shared on OSH Park.
Raspberry Pi ISP tool: an AVR ISP helper and GPIO breakout board.
Besides the ISP header that allows you to use a standard 6-pin IDC cable to program your boards, it has a few other goodies too, since I thought they might come in handy: UART, I2C and the full SPI bus are all also there.
The firmware is not quite finished for the keyboard toy, but at least I can start building the device now once the boards arrive.
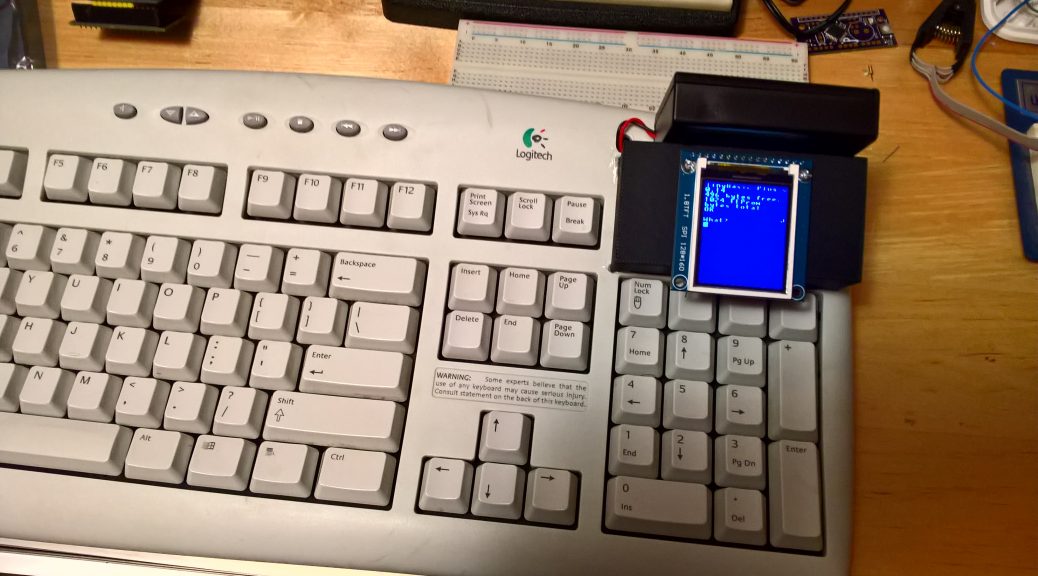
On and off, I’ve been working on a project to build a learning toy for my son. It started out in various forms, but is now destined to become embedded within an old PS/2 keyboard I’ve had lying around unused for a good while (except as an occasional toddler plaything). At any rate, I needed a display of some sort to permanently embed in the project, and since it will likely take a beating over time, I wanted it to be fairly inexpensive. I ended up finding this device on Amazon, and finally received it last week.
Using Adafruit’s ST7735 library, it works perfectly. Thanks to the blog post here, I was able to set it up fairly easily. Here, you can see it hooked up to my Adafruit Pro Trinket. The only addition I had to make was to insert a LD33CV 3.3V voltage regulator between the Trinket’s power supply and the bread board’s power bus. The product claims that it has a built-in level shifter, but the data sheets have conflicting information about this. Better safe than sorry. Once the project is more complete, I plan on swapping the Trinket out for a dedicated ATMega328P, and will give it a lower voltage power supply also.