After much iteration on the firmware for the keyboard, I decided on finally assembling the device, in spite of not being completely finished. It will continue to be a work-in-progress, but I need to move on to other projects for now. Once I finish some other projects, I’ll come back to this one.
Parts for the Job
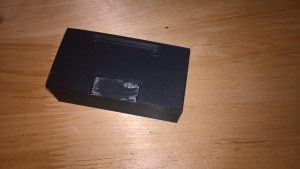
Thankfully, I already had all the parts I needed by this point: hardware odds and ends, a AA battery holder with a switch, glue of various sorts, and a 3D printed ABS plastic cover (courtesy of my father, who is really into 3D printing now). We designed the cover with a slot for the TFT headers, as well as for the mounting holes. Additionally, the cover needed a small indentation for the SD card holder which protruded from the bottom of the TFT’s board.
Assembling the Main Electronics
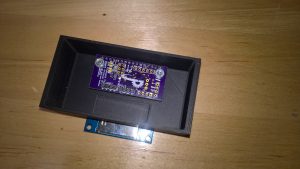
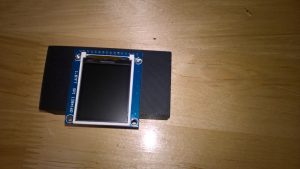
I designed the revision “B” keyboard toy boards with mounting holes to match the TFT board’s mounting holes; and instead of the complicated wire harness, I opted to put a female header on my board to exactly match the header on the TFT. The boards could then sandwich the cover through the header slot, and I could secure them with machine screws, nuts and nylon washers. I went with nylon washers for the bottom to ensure that the hardware wouldn’t come into contact with and pads on the PCB and cause shorts.
Glue!
Before gluing and assembling the case and cover, I drilled another small hole in the keyboard cover, since I would need to wire the battery holder to my PCB, now effectively inside the case. After plugging the keyboard and battery holder wire harnesses into my main PCB, I superglued the ABS cover onto the hole in the keyboard cover. Once that was semi-secure, I superglued the battery holder onto the back of the cover. I needed to carefully choose the position and orientation so that both the switch and battery were still accessible.
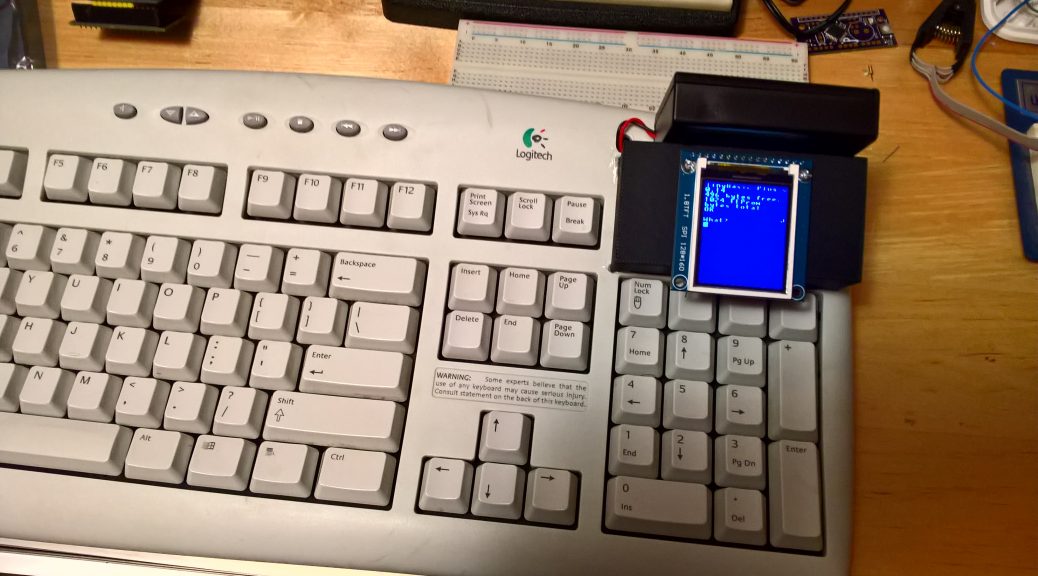
The Finished Product
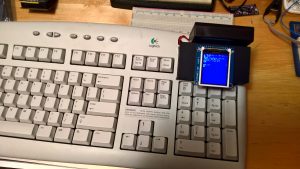
The only thing left now was to add batteries and test. It was a success! It also seems to hold together fairly well. We’ll see how long it holds up now that the kids are playing with it.